FiSt2 Adjustment Manual for Different CO2 Cartridge Lengths
Share
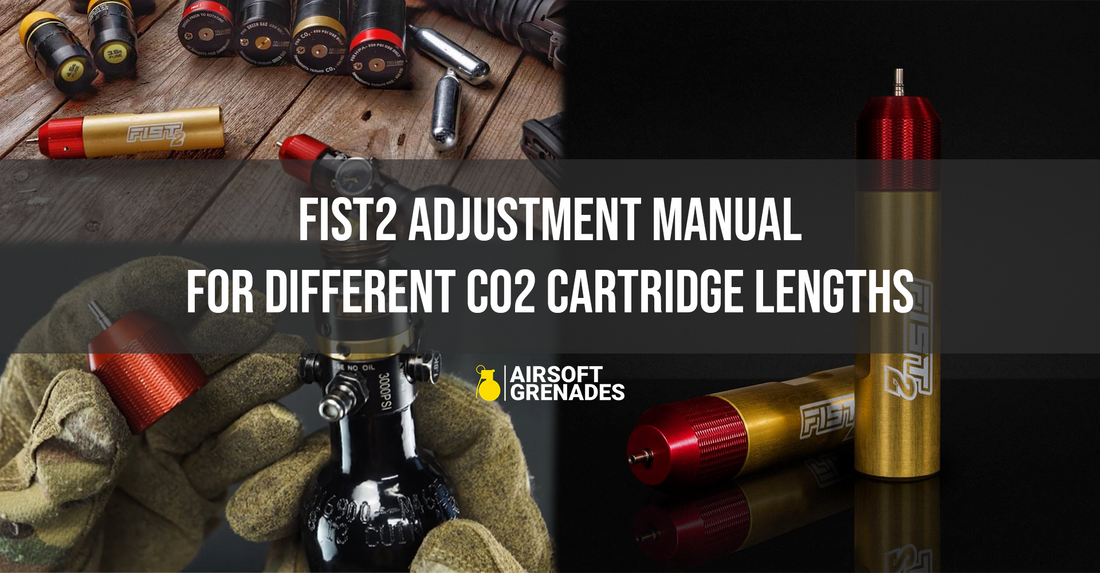
FiSt2 Adjustment Manual for Different CO2 Cartridge Lengths
Overview:
Tools Needed
- A standard hex key (for loosening and tightening the headless screw).
Adjustment Steps
1. Prepare the Device
- Ensure the FiSt2 is clean and free of debris.
- Remove any CO2 cartridge currently in the device.
2. Loosen the Black Headless Screw
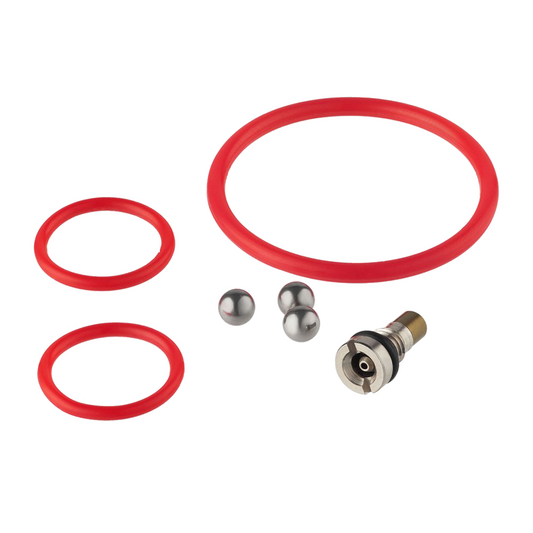
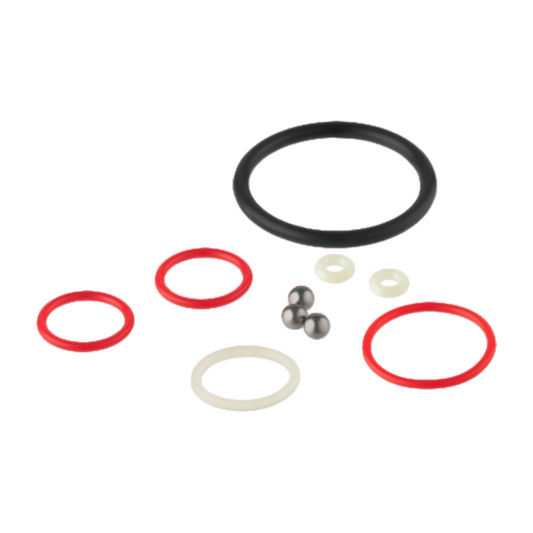
- Locate the red “head” with riffles at the front of the FiSt2.
- Use the hex key to loosen the black headless screw on the red head.
- Do not remove the screw completely—just loosen it enough to allow adjustment of the internal parts.
3. Adjust the Needle Position
- Identify the silver part (with needle) inside the red head.
- Turn the silver part 1/4 turn clockwise or counterclockwise, depending on whether the distance to the membrane needs to increase or decrease.
- Clockwise: Reduces the distance.
- Counterclockwise: Increases the distance.
4. Test the Distance
- Insert a CO2 cartridge into the device without fully securing it.
- Check if the needle aligns correctly with the cartridge's membrane.
5. Repeat Adjustment If Necessary
- If the alignment isn’t correct, repeat the process with additional 1/4 turns until the needle makes proper contact.
6. Secure the Headless Screw
- Once the needle is correctly positioned, tighten the black headless screw on the red head to lock the adjustment in place.
Tips for Optimal Adjustment
- Start with small adjustments (1/4 turns) to avoid over-adjusting.
- Test the device with a sample CO2 cartridge to ensure proper functionality.
- If the device fails to puncture the membrane or punctures it too easily, revisit the adjustment process.